Cold email is not dead!
It remains the best tool for reaching prospects. However, to reduce costs and maintain campaign success, some people opt for Virtual Private Servers (VPS) instead of traditional email service providers like Google or Outlook.
In this article, we'll explore the ins and outs of leveraging a VPS for cold email campaigns. We'll cover everything from setting up a VPS server to finding the right provider that allows cold emails.
Additionally, we'll discuss which VPS hosting options are best suited for cold email outreach and why specific alternatives may be preferable for scaling your campaigns effectively.
Let's get into it!
VPS (virtual private server) hosting facilitates bulk email marketing by providing a virtual private server, ensuring uninterrupted email delivery without server overload concerns. This hosting type allows businesses to utilize their email marketing software for unlimited subscriber outreach.
Compared to shared hosting, VPS servers offer greater flexibility and power, making them ideal for handling large-scale email campaigns.
When seeking a VPS server provider that permits cold emails, it is essential to thoroughly review the provider's terms of service and acceptable use policies.
Some VPS hosting companies explicitly state whether cold email is allowed within their terms of service, while others may have restrictions or prohibitions. Look for providers with clear guidelines on cold email practices and ensure that cold emailing is not listed as a violation.
Additionally, consider contacting the provider's customer support for clarification if needed. Reading reviews and testimonials from other users can also offer insights into a provider's stance on cold emailing.
We tested these companies just to produce this article.
The issues we found were that Ionos and OVH VPS had blacklisted IPs, which is an absolute no-go to run cold emails. We also tested some other companies, and they straight-up refunded us when we said we wanted to build a cold email infrastructure. And others allowed us, but they hinted they might change their mind and eventually ban you.
Setting up an accessible email server with a VPS and CyberPanel enables high-volume cold email campaigns. The strategic blend of a VPS, AlmaLinux OS, and CyberPanel forms a robust platform.
Each step is vital, from configuring DNS records to optimizing deliverability. As you navigate this setup, the potential to enhance outreach efforts grows, promising efficient email marketing.
After creating your VPS account with your chosen server, proceed to select your preferred server plan and location. Opt for Los Angeles, Utah, or France to secure a free IPv6 address. Choose AlmaLinux OS 8 for your operating system. Let's assume you choose Racknerd.

Once provisioned, RackNerd will email you the necessary server details, including the IP address, username, and password. If you selected the RackNerd VPS 2GB plan, contact RackNerd support to request an IPv6. They will guide you through the process and provide setup instructions.
Follow their guidelines meticulously for a smooth provisioning experience—contact support promptly for assistance with your IPv6 request or if you encounter any issues during setup.
After provisioning your RackNerd VPS and receiving the necessary server details, the next step is establishing a secure connection to your VPS using an SSH client like Bitvise. If you're working from a public network, it's wise to download a free VPN beforehand to encrypt your connection and protect sensitive credentials during login. Here's how to connect to your VPS:

Ensure a stable connection to progress to the following setup steps smoothly.
Configuring the hostname, rDNS, and initial DNS settings is important to establish a strong foundation for your email server setup.

Begin by setting the Hostname on your VPS and requesting the rDNS from RackNerd support.
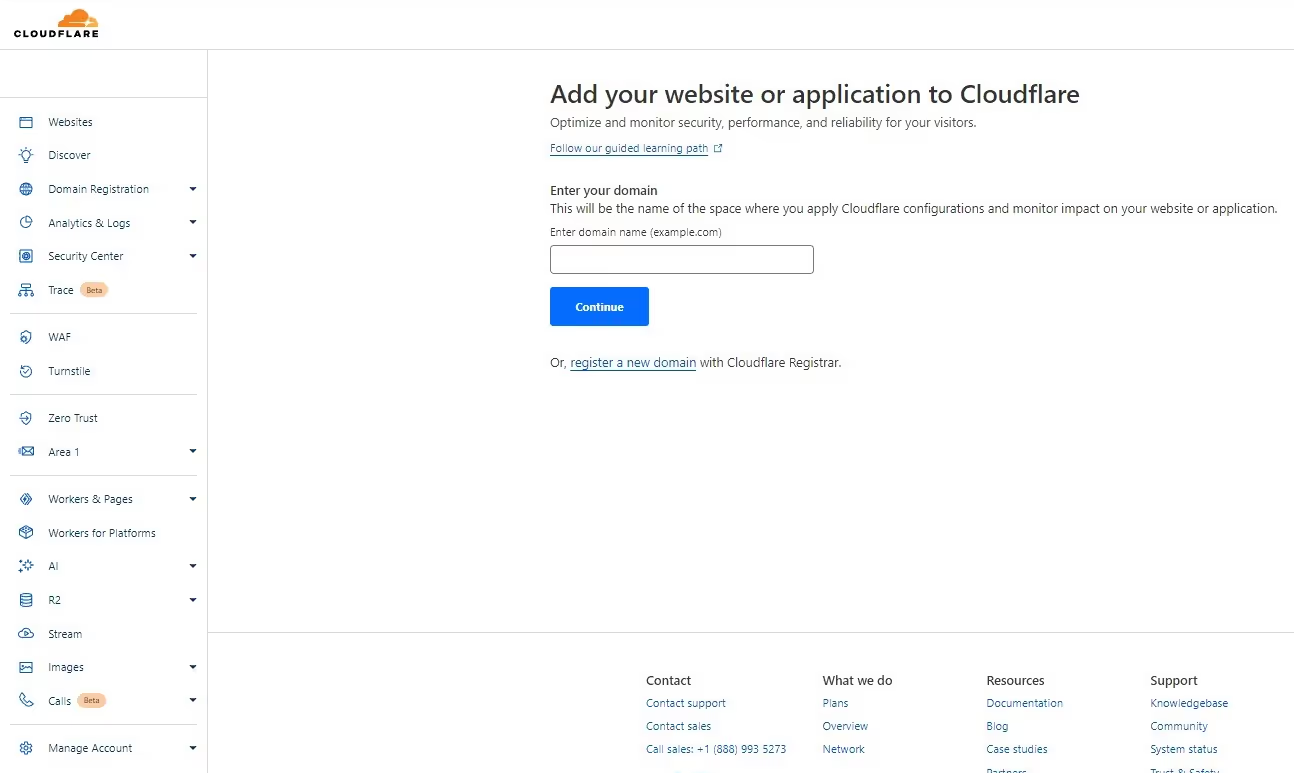
Next, add your site on Cloudflare, insert Cloudflare's nameservers into Namecheap, and create the necessary A records on Cloudflare.
These steps are essential for establishing a solid groundwork for your email server.
Subsequently, when setting up your email accounts in CyberPanel, generate them properly and verify email client configurations. Additionally, syncing local records to Cloudflare and updating DNS records are crucial for seamless email operations.
These steps will facilitate smooth email client configurations, webmail access, and efficient testing and optimization procedures.
To ensure your email server's paramount performance and security, the next essential step is updating system packages and enabling IPv6 on your RackNerd VPS. Follow these steps to optimize your server for smooth operation:
CODE:
sudo yum check-update
sudo yum update
After installation, access CyberPanel through your web browser by entering
https://your_server_ip:8090.
Log in using the default credentials provided post-installation. You may encounter a security warning; proceed by accepting the risk.
Use this Command
sh <(curl https://cyberpanel.net/install.sh || wget -O -
https://cyberpanel.net/install.sh)
Once logged in, avoid configuring default settings and hostname. Confirm a successful setup by checking for a 'Completed. [200]' message and then restart CyberPanel.
Access CyberPanel securely using your hostname and port 8090 instead of the IP address. This step is essential for managing your email server efficiently.
When setting up your domain in CyberPanel, navigate to the Websites section and create a new website.
Following these steps will help establish a strong foundation for your email server. You will ensure that your domain is correctly set up to handle the volume of emails you intend to send, such as the 50K Cold Emails Daily.
Now, create an email account. To do this, navigate to Email in CyberPanel and select Add Email. Enter your domain and a secure password, then click Create Email to generate your email account.

This account will be crucial for managing your email addresses and maintaining a good sender reputation for your cold email outreach. Setting up email accounts on your dedicated server guarantees cost-effective prices, self-hosted email capabilities, and control over your IP reputation for excellent email delivery.
CyberPanel's user-friendly interface makes managing email accounts and sending transactional emails seamless.
How can you guarantee smooth email delivery and proper domain management through configuring DNS records in CyberPanel with Cloudflare integration? To make a specific efficient setup, follow these steps:
To assess the successful delivery of emails and guarantee peak performance of the email server setup, it is important to conduct thorough testing procedures.
Begin by accessing webmail through CyberPanel and entering the email login details previously created.
Next, send test emails to evaluate delivery success, aiming for a high Mail-Tester Score of 10/10.
Verify email delivery to popular providers like Gmail, AOL, and Proton as well.
To enhance inbox placement, consider utilizing IP and domain warmup services such as Warmup Inbox or Success.ai. These warmup services can help with delivery issues, like emails going to spam.
Test the functionality by replying from Gmail to ensure successful bidirectional communication.
By the way, salesforge.ai has a built-in warm-up feature, so you don't have to pay for a special VPS warmer.
Configuring your email client to connect to your server seamlessly is vital for efficient email management. To set up your preferred email client (e.g., Thunderbird, Outlook) with ease, follow these steps:
After configuring these settings, check your email client configurations under the Email > List Emails section in CyberPanel. This step ensures smooth communication between your email client and the well-configured VPS.
Oh! did I mention that most VPS providers will ban you if you send cold emails through their IPs and people mark you as spam?
Using a VPS server for cold emails is an unstable scenario. A well-planned warm-up strategy is crucial to making it work.
Start by sending a tiny volume to an engaged audience, gradually increasing to more significant segments.
Clean your email list of invalid addresses and set up SPF and DKIM authentication. Monitor key metrics like open and bounce rates to track progress and adjust as needed.
Segment your list based on engagement levels for personalized outreach, and stay flexible to adapt to real-time results.
Best For: Small businesses looking to get started.
Pros: Allows greater volume for cold emailing campaigns at a cheaper price.
Cons: Since it's an unstable email infrastructure, it requires careful deliverability monitoring and email-sending capacity adjustment.
Selecting a VPS hosting provider with ample resources and reliable customer support is essential for peak performance in cold email marketing. Understanding the core benefits of VPS hosting, from isolated resources to better uptime, can help you make a more informed choice. Providers like Contabo, Vultr, and Hetzner stand out when considering VPS hosting for cold emailing.
Contabo, a German provider, offers powerful servers with various operating systems and 10 hours of live customer support on weekdays.
Vultr is one of the popular ones cold emailers talk about. It offers modern data centers in multiple locations and 24/7 support.
Hetzner Online, one of Europe's largest hosting companies, provides a wide range of hosting products, including email hosting.
These providers offer VPS hosting plans with unlimited traffic and competitive pricing, making them ideal for effective cold email campaigns.
So…don't like the solution? Well, you can always choose Mailforge for a solid cold email infrastructure.
Using VPS servers for serious cold email campaigns can present numerous challenges and risks that may hinder your marketing efforts.
While VPS servers may seem like a cost-effective solution, they come with limitations such as difficulty in maintaining IP reputations, high chances of getting blacklisted, and minimal support for troubleshooting.
Scaling can be an issue, and VPS service providers might ban you. Moreover, emails sent through VPS servers might not land in the inbox, making it harder to reach your target audience effectively.
Considering these factors, exploring alternative options that offer more reliability and support for successful cold email campaigns is advisable.
If you’re serious about running cold email campaigns with VPS, prepare to face challenges like these:
Yep, it is pretty challenging to use VPS servers safely.
Here’s one of our experiences:

In another one of our experiences, OVH refused to give us a new IP address even though the new IP they provided us was already blacklisted:

One more experience of ours testing out Hostinger VPS to run cold emails then we refunded it due to compatibility issues.

Mate! Are you sure you want to bother with all these hassles to build a shaky cold email infrastructure?
An excellent alternative to VPS servers for efficiently sending cold emails at scale is Mailforge.

Mailforge.ai is the best choice for cold email campaigns due to its quick setup process. Within 5 minutes, you can import your domains, change nameservers (even purchase domains from Mailforge), create emails, and be good to go.
There is no need to configure SPF, DKIM, or DMARC for each email; it's all automated. Mailforge.ai covers essential factors for successful cold email campaigns: scalability, affordability, robust sending capacity, excellent deliverability, inbox placement, proactive IP management, and top-notch customer support.
Setting up Mailforge with cold outreach software like Salesforge, Instantly, or Smartlead is faster than finishing a breakfast of bacon, eggs, and toast on Sunday morning.
Let me know if this is you: You want to generate leads and have learned that the best outbound tactics are ads or cold emails. Ads are costly, while cold emails can be cheaper. Building a solid infrastructure is also expensive and technical. Then you heard of people using VPS servers to send cold emails, which costs peanuts, and here you are.
Instead of going through all the hassles of finding the VPS, installing the cyber panel, maintaining IP reputation, and warming up slowly while monitoring, you don't screw it all up; you can just choose Mailforge.ai or start slow with Google Workspace.
Your business is something other than something to be toyed with. Thus recommend avoiding using VPS servers for extensive cold email campaigns. Consider alternative options for sending cold emails at scale.
You can get started with it in minutes for $30 a month with an excellent sending capacity without any fear of getting your IPs blacklisted.